
What the ranunculus?
Flower Nerd Alert!
Here are a few words I’d never heard before I started flower farming: corm, ranunculus, pre-sprout, and cold-stratification.
Here’s what they mean:
Corm: A rounded or segmented underground storage organ present in plants such as ranunculus, anemone, crocuses or gladiolus. Kind of like a bulb, but not.
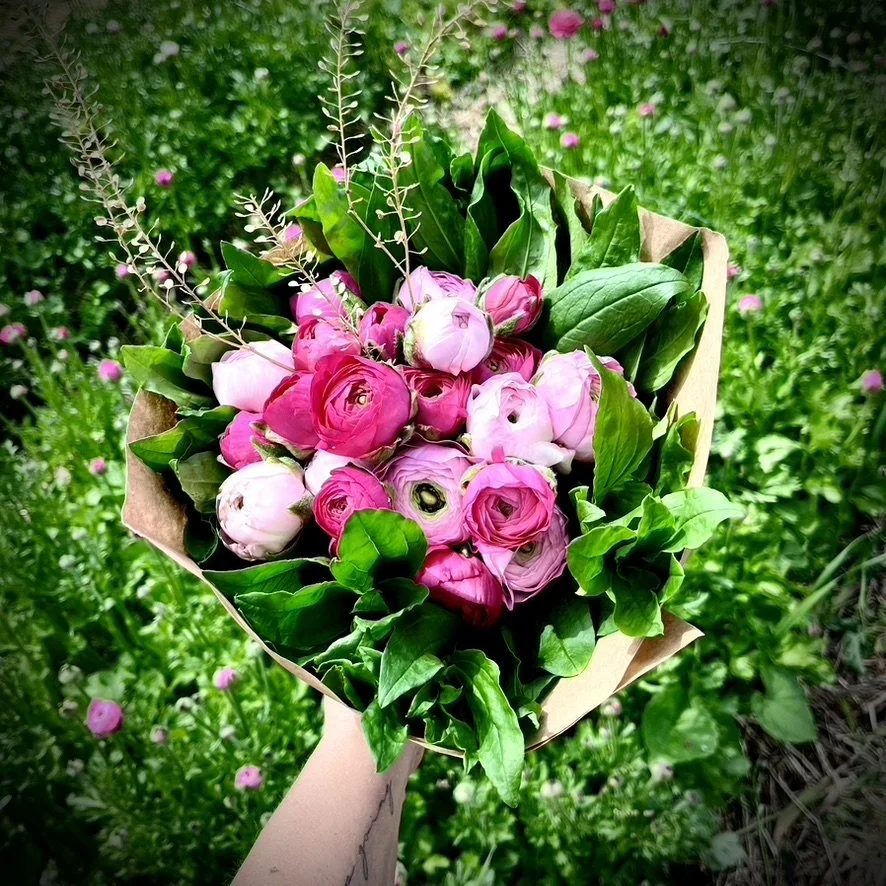
Ranunculus: A gorgeous, ruffly, delicate-looking bloom resembling a small rose. They are a Spring flower that you can plant in Fall, but you can also get them started in late Winter. Also known as Persian Buttercups.
Pre-Sprout: It means to re-hydrate and provide ideal growing conditions to initiate growth in a corm, bulb or seed.
Cold-Stratification: This term is mostly used for seeds, but it also applies to other plants that need a cold spell of a certain amount of time, followed by warmer conditions to initiate their growing cycle. Think tulips.
Now that you’re a nerd like me, let’s talk about how to get these ranunculus corms pre-sprouted and into your garden with enough time for cold-stratification before Spring!
PS…if you’re more of a ‘plant seedlings not seeds’ kind of gardener, let me do the work for you! Click here to get yourself on a waitlist for my first batch of potted and pre-sprouted Ranunculus (ready for pick up before Valentine’s Day!)
How to grow ranunculus
Supplies Needed:
Ranunculus corms
Containers for soaking your corms
Water
Organic potting soil
Plastic label and a sharpie
1 or 2 flat-bottomed trays (a standard 11” x 21” x 2” germination tray is perfect)
A cool (10c) indoor shelf to keep them for 2 weeks while they sprout, no light necessary
An amended garden or pots to plant them in once they’re sprouted
30 minutes of time

Dried Ranunculus Corms….ready for a little hydration and a place to grow!
What the Ranunculus?
If you’ve just purchased ranunculus corms for the first time, you’re probably looking at them wondering how these weird little dried up octopus things could ever produce a flower. They just need a little hydrating to begin their life cycle and wake up from their dormancy.
(Me too ranunculus, me too.)
How to Pre-Soak Your Corms:
Place each variety of corm into its own small container with a waterproof label, or mix them up if you’re feeling like a surprise (…they all look the same without a clear label).
Fill your container with water until the corms are fully covered and the water is deep enough that they can swirl* around when you move it. You can also put them into a cloth bag of some kind and let the whole bag soak in the water, making for a gentler removal from the water than dumping them into a strainer.
Let them soak for 2-3 hours, swishing* the container around gently a few times during those 3 hours to make sure they’re all hydrating equally. Take them out of the water as soon as they look plump. Set a timer if you have to because if they get soaked for too long they’ll rot not grow.
Fill your flat-bottomed tray with a layer of 1” of moistened potting/seed mix.
Drain the water from your plumped up corms and push them onto the moist soil mix, tentacles* down. I like to place them pretty close together, with about 1/4” in between. Their roots will definitely get tangled, but if you’re gentle you can easily pull them apart at planting time.
Cover the tucked in ranunculus corms with another inch of moistened potting soil.
Cover the entire tray with another same-sized upside-down tray to keep the soil from drying out, and to tell your corms it’s time to get wake from their slumber. You don’t want a bright light shining in your face after a long nap, and neither do they. If you’re using a randomly-sized container, a piece of cardboard overtop will work just fine.
Put them in a cool, out-of-your-way spot and wait patiently for 2 weeks. I check on mine every few days. Rodents will munch on these, so make sure they’re protected if they’re in your unheated greenhouse or garage.
If the soil seems dry during the sprouting phase, add a small amount of water and return the cover (just a drizzle over the entire surface with a watering can - you don’t want water collecting at the bottom of the tray).
*not official gardening terminology


Congratulations! Your corms have sprouted.
Once your corms have sprouted, they are ready to plant!
You’ll know they have sprouted because they’ll have little white rootlets poking out all over the place. In our climate here in Victoria, BC, Canada (8b) you can plant these out anytime between now and the end of February for blooms in April-May.
This means gently pulling them all apart and transplanting them into their forever homes in your garden or in a pot or planter with lots of compost and regular watering.
Tip: If your corms have sprouted, but you’re not ready to plant, they can stay in their tray for longer than you might think, but they will need light. As long as it’s above freezing, you can move the tray to a sunny, covered spot outside or in an unheated greenhouse. You could also pop them under grow lights inside to continue growing. In both cases, make sure the soil stays moist and they’ll soon start growing leaves! The longer they stay like this, the harder they’ll be to get apart and they may start to decline, so get them planted sooner than later if you have an option.
Let Me Do the Work for You!
Does this all sound like too much work and you just want to have flowers in your garden without all of this other nonsense? I’ve got you covered my flower-loving friend.
Add your name to my waitlist here to get notified first when my potted-up Sweetheart Ranunculus Pots are ready for pre-order.
Pre-Orders will open soon for pick up before Valentine’s Day, or later in the season.
Let’s get growing!
xo - Renée