Let’s Start Some Dahlias!
Now that it’s April, you’ve probably exhumed your dahlia tubers from their winter slumber (or you’re waiting patiently on your local flower farmer to get them in the mail!). Either way, you’ll likely be looking at the tubers and wondering what to do next. Is it time to plant them in the garden? Can I start them inside? What are ‘eyes’ anyway and what are they supposed to look like?
Let me give you the low-down on your weird-looking flower-producing potatoes….and remember, size doesn’t matter when it comes to dahlia tubers.
Here in Victoria, BC (zone 8b), we can usually get out dahlia tubers into the garden by the end of March, but this year has been unseasonably cold and wet. I have about 700 to plant this season and not a single one is in the garden yet, so don’t fret my fellow gardeners…it’s not too late.
Dahlia tubers are susceptible to rot, which comes from either freezing or excess moisture. They won’t be happy in the ground or even start sprouting until the soil (and night-time temperatures) are at least 10c. We have a superbly long growing season here, so you could plant them in June and still get flowers in September…but who wants to wait that long for dahlias am I right?
While I’m waiting for the ground to warm up and become less soggy, I’m getting mine started indoors, and you can too!
The first thing I do after pulling them out of storage is ‘wake them up’. This means you bring them into a warm, humid environment and wait for the eyes to plump up and become visible (those in the dahlia world call this being ‘eyed up’). We do this for a couple of reasons; to ensure that the tubers are viable and prevent planting duds, and to hasten their growth before they are put into the garden.
Waking them up is pretty straightforward. Put your tubers into a ziploc bag with some wood shavings, vermiculite or growing medium (peat or potting mix).
You can put a few tubers into one bag, just don’t pack them in too tightly, and remember to label them! I just pop a plant tag into the bag with the tuber that I can then tag the plant with when it goes into the garden. Spritz the inside of the bag with 3-4 sprays of water, seal it up, place it somewhere warm like the top of the fridge for a tiny greenhouse effect, and wait.
Different varieties take different amounts of time to eye up, but typically it takes a minimum of a few weeks for eyes to appear. If you’ve waited 6 weeks and you don’t see any trace of an eye, that tuber is probably not viable. Also, it’s a good idea to keep checking on them to ensure they aren’t too dry…or too moist. Too dry? Spritz in more water. Too moist? Open the ziploc to allow moisture to escape and replace any moldy medium with something fresh.
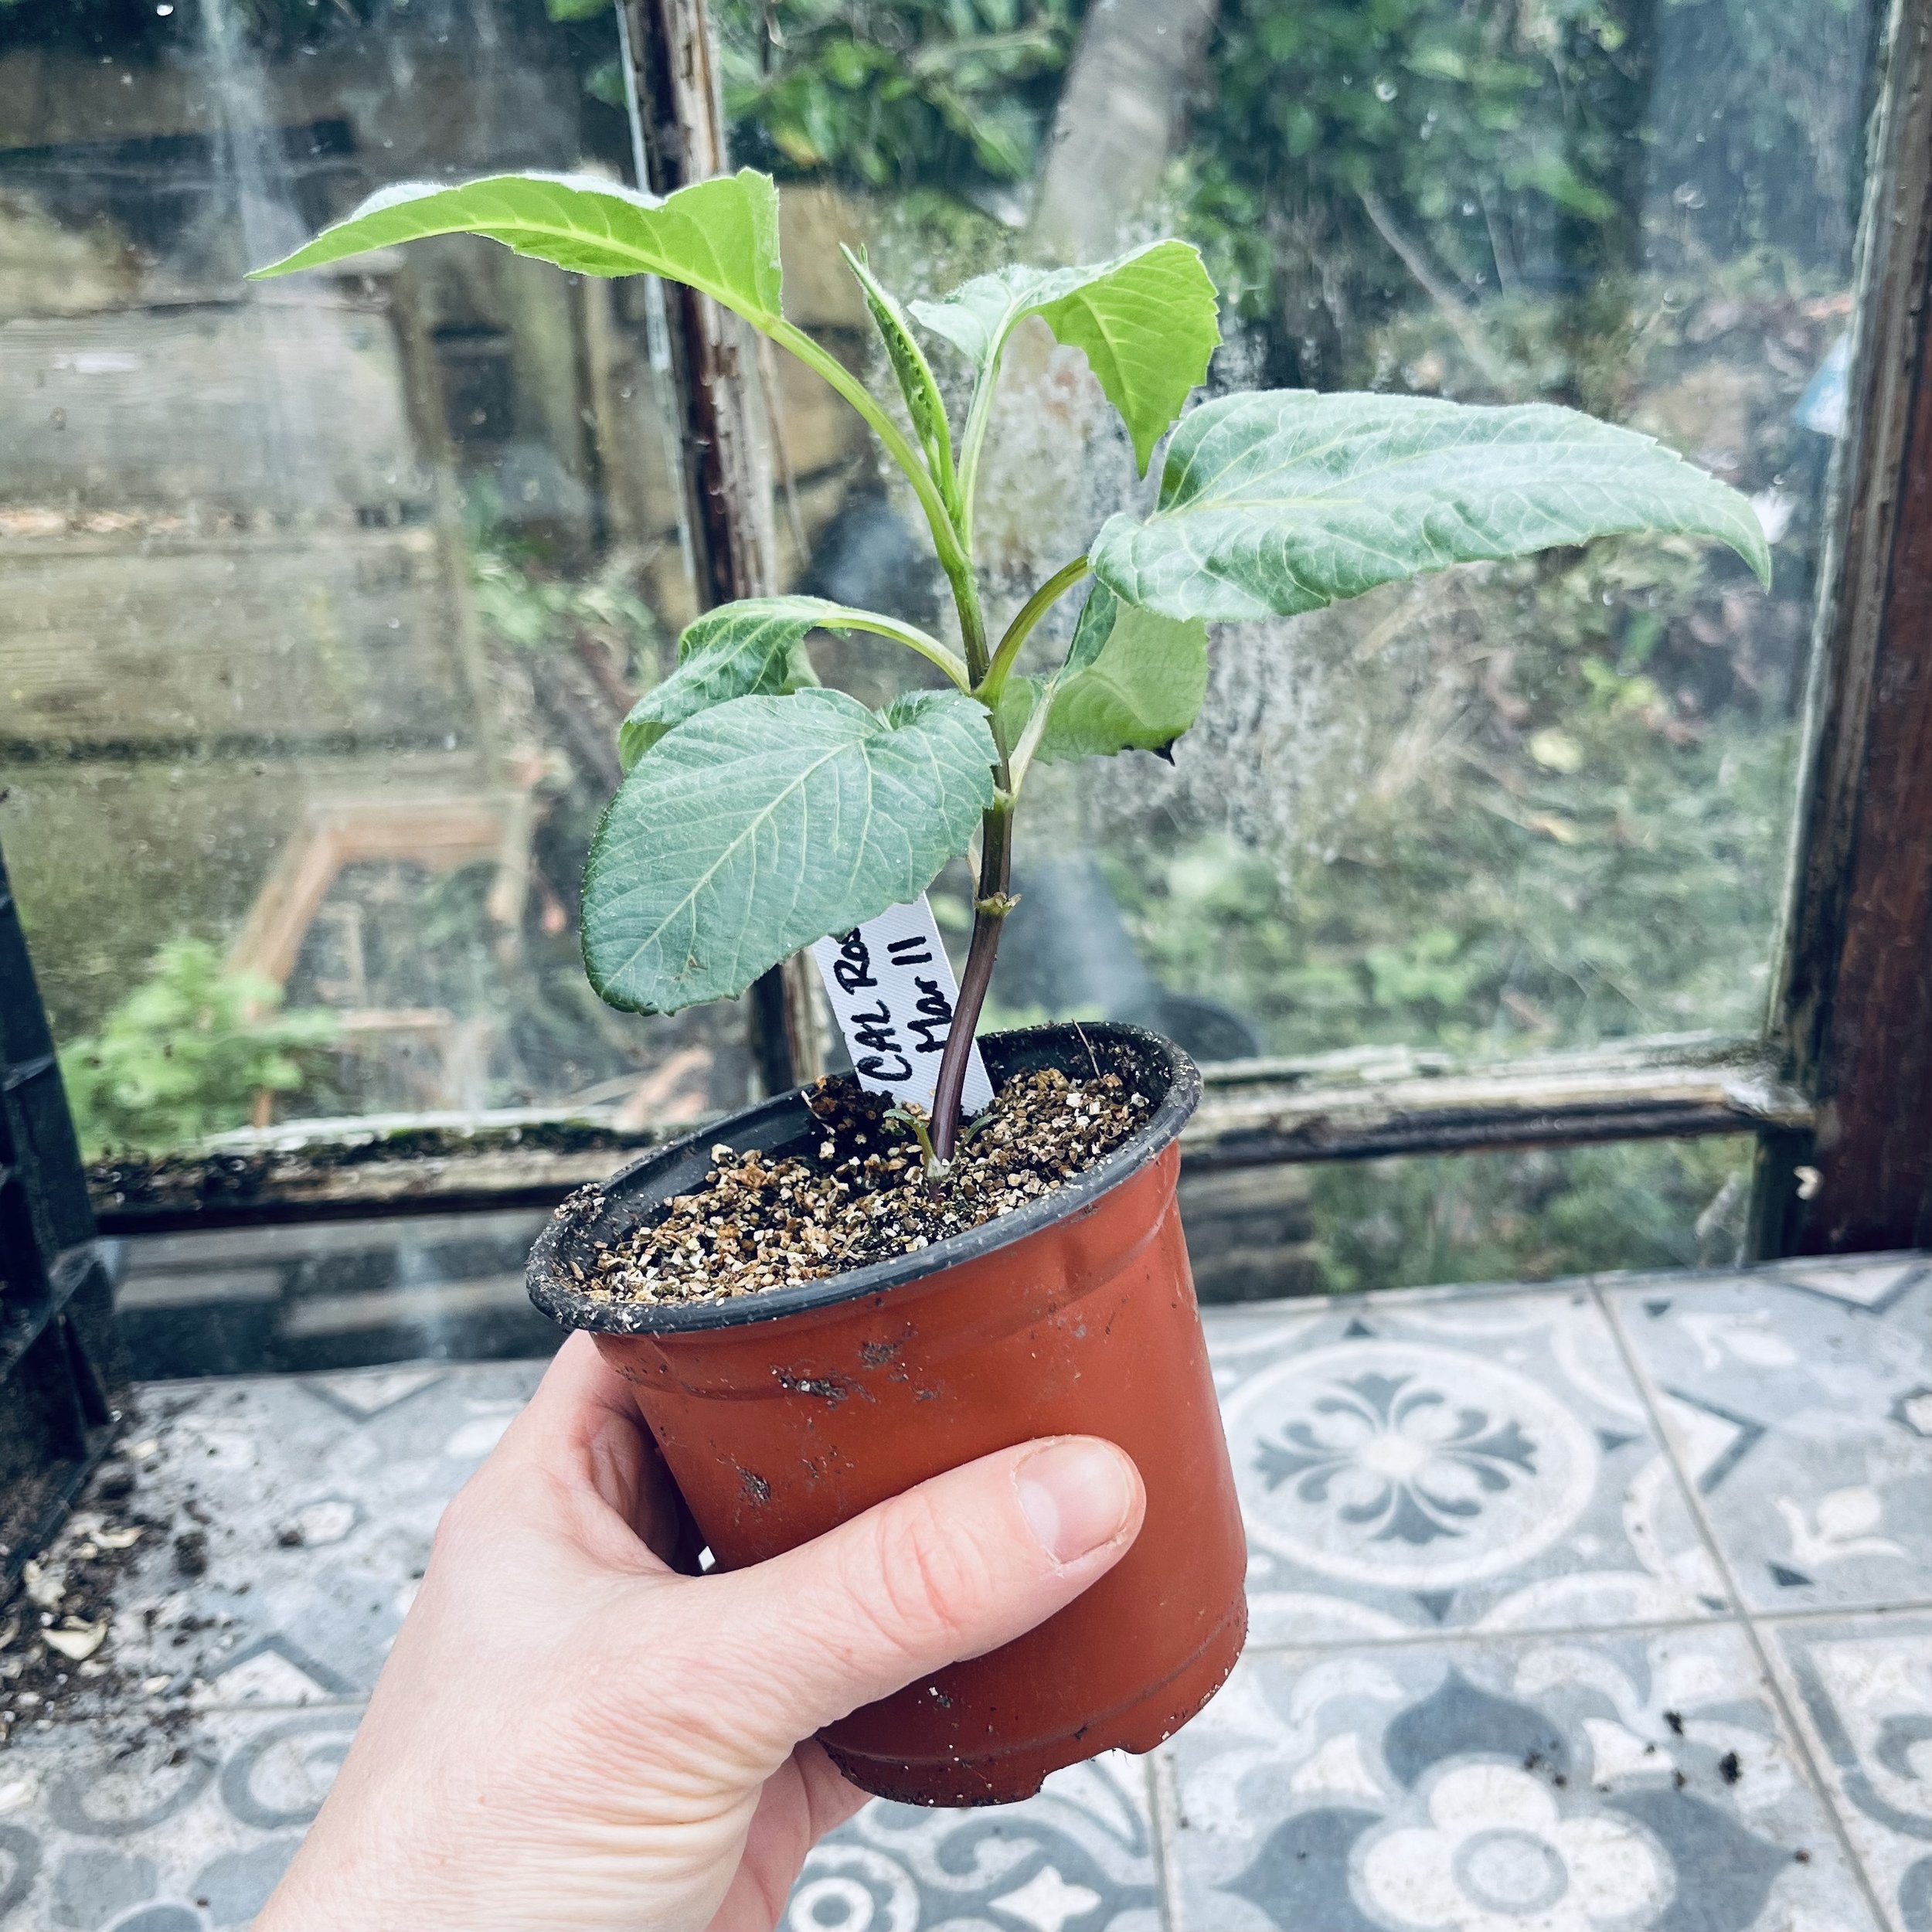
Once you have viable tubers with visible eyes, you can pot them up to start growing indoors before planting out into the garden. Choose a pot with drainage holes that is bigger than your tuber and fill it with moist potting mix. I personally amend the potting mix with worm castings (for extra water retention) and organic fertilizer to give those babies a good head start, but straight potting mix is fine.
‘Eyes’ are the beginnings of sprouts, and they have a different texture than the rest of the tuber…soft and kind of rubbery.
If your tuber has an actual sprout that’s long enough, bury your entire tuber in the pot , but allow the tip of the sprout to poke through to get some light. You can plant them on their sides or straight up and down…the sprouts will find their way up.
If your tuber just has visible eyes but no sprout, bury the whole thing with 2-3” of moist potting mix. Take that handy label you put into the ‘wake-up bag’ and pop it into the pot with the tuber. Keep the pots in a warm spot and ensure they are getting some light once the sprouts start to poke through the surface. A greenhouse is great, but if you’re working with a windowsill that’s just fine too.
Only water your tubers if the soil gets dry, and do not let them sit in bottom water or you’re asking for rot. You can cover the soil with the wood shavings from your wake-up bag to help retain the moisture and prevent the surface from getting crusty.
You can let your plants grow indoors to 4-8” tall before planting out. While they are growing, you can get your planting spot ready by amending the soil with a generous layer (2-3”) of organic compost and a slow-release organic fertilizer. Each plant will need an 18” circle of space in the garden…unless you’re cutting from them weekly, in which case you can plant them 9-12” apart.
Once the soil temperatures reach 10c, it’s time to plant your dahlias. I’ll be writing another blog post about how to do this, but if you’re gung-ho, just remember to harden them off by exposing them to outdoor temperatures and real sunlight over the course of a week before planting.
FYI, you don’t have to do any of the steps I just mentioned. Simply wait until the soil temperatures are 10c and plant your ‘eyed-up’ tuber directly into the ground 4-6” deep. The method above will give your plants a great head-start and you’ll see flowers about 6 weeks earlier than starting them in the garden, but eventually the results will be the same….gorgeous flowers and healthy plants.
Now cross your fingers for some warmer weather…and in the meantime, get those tubers started inside for flowers sooner than later.
Happy growing friends!
xo - Renée


