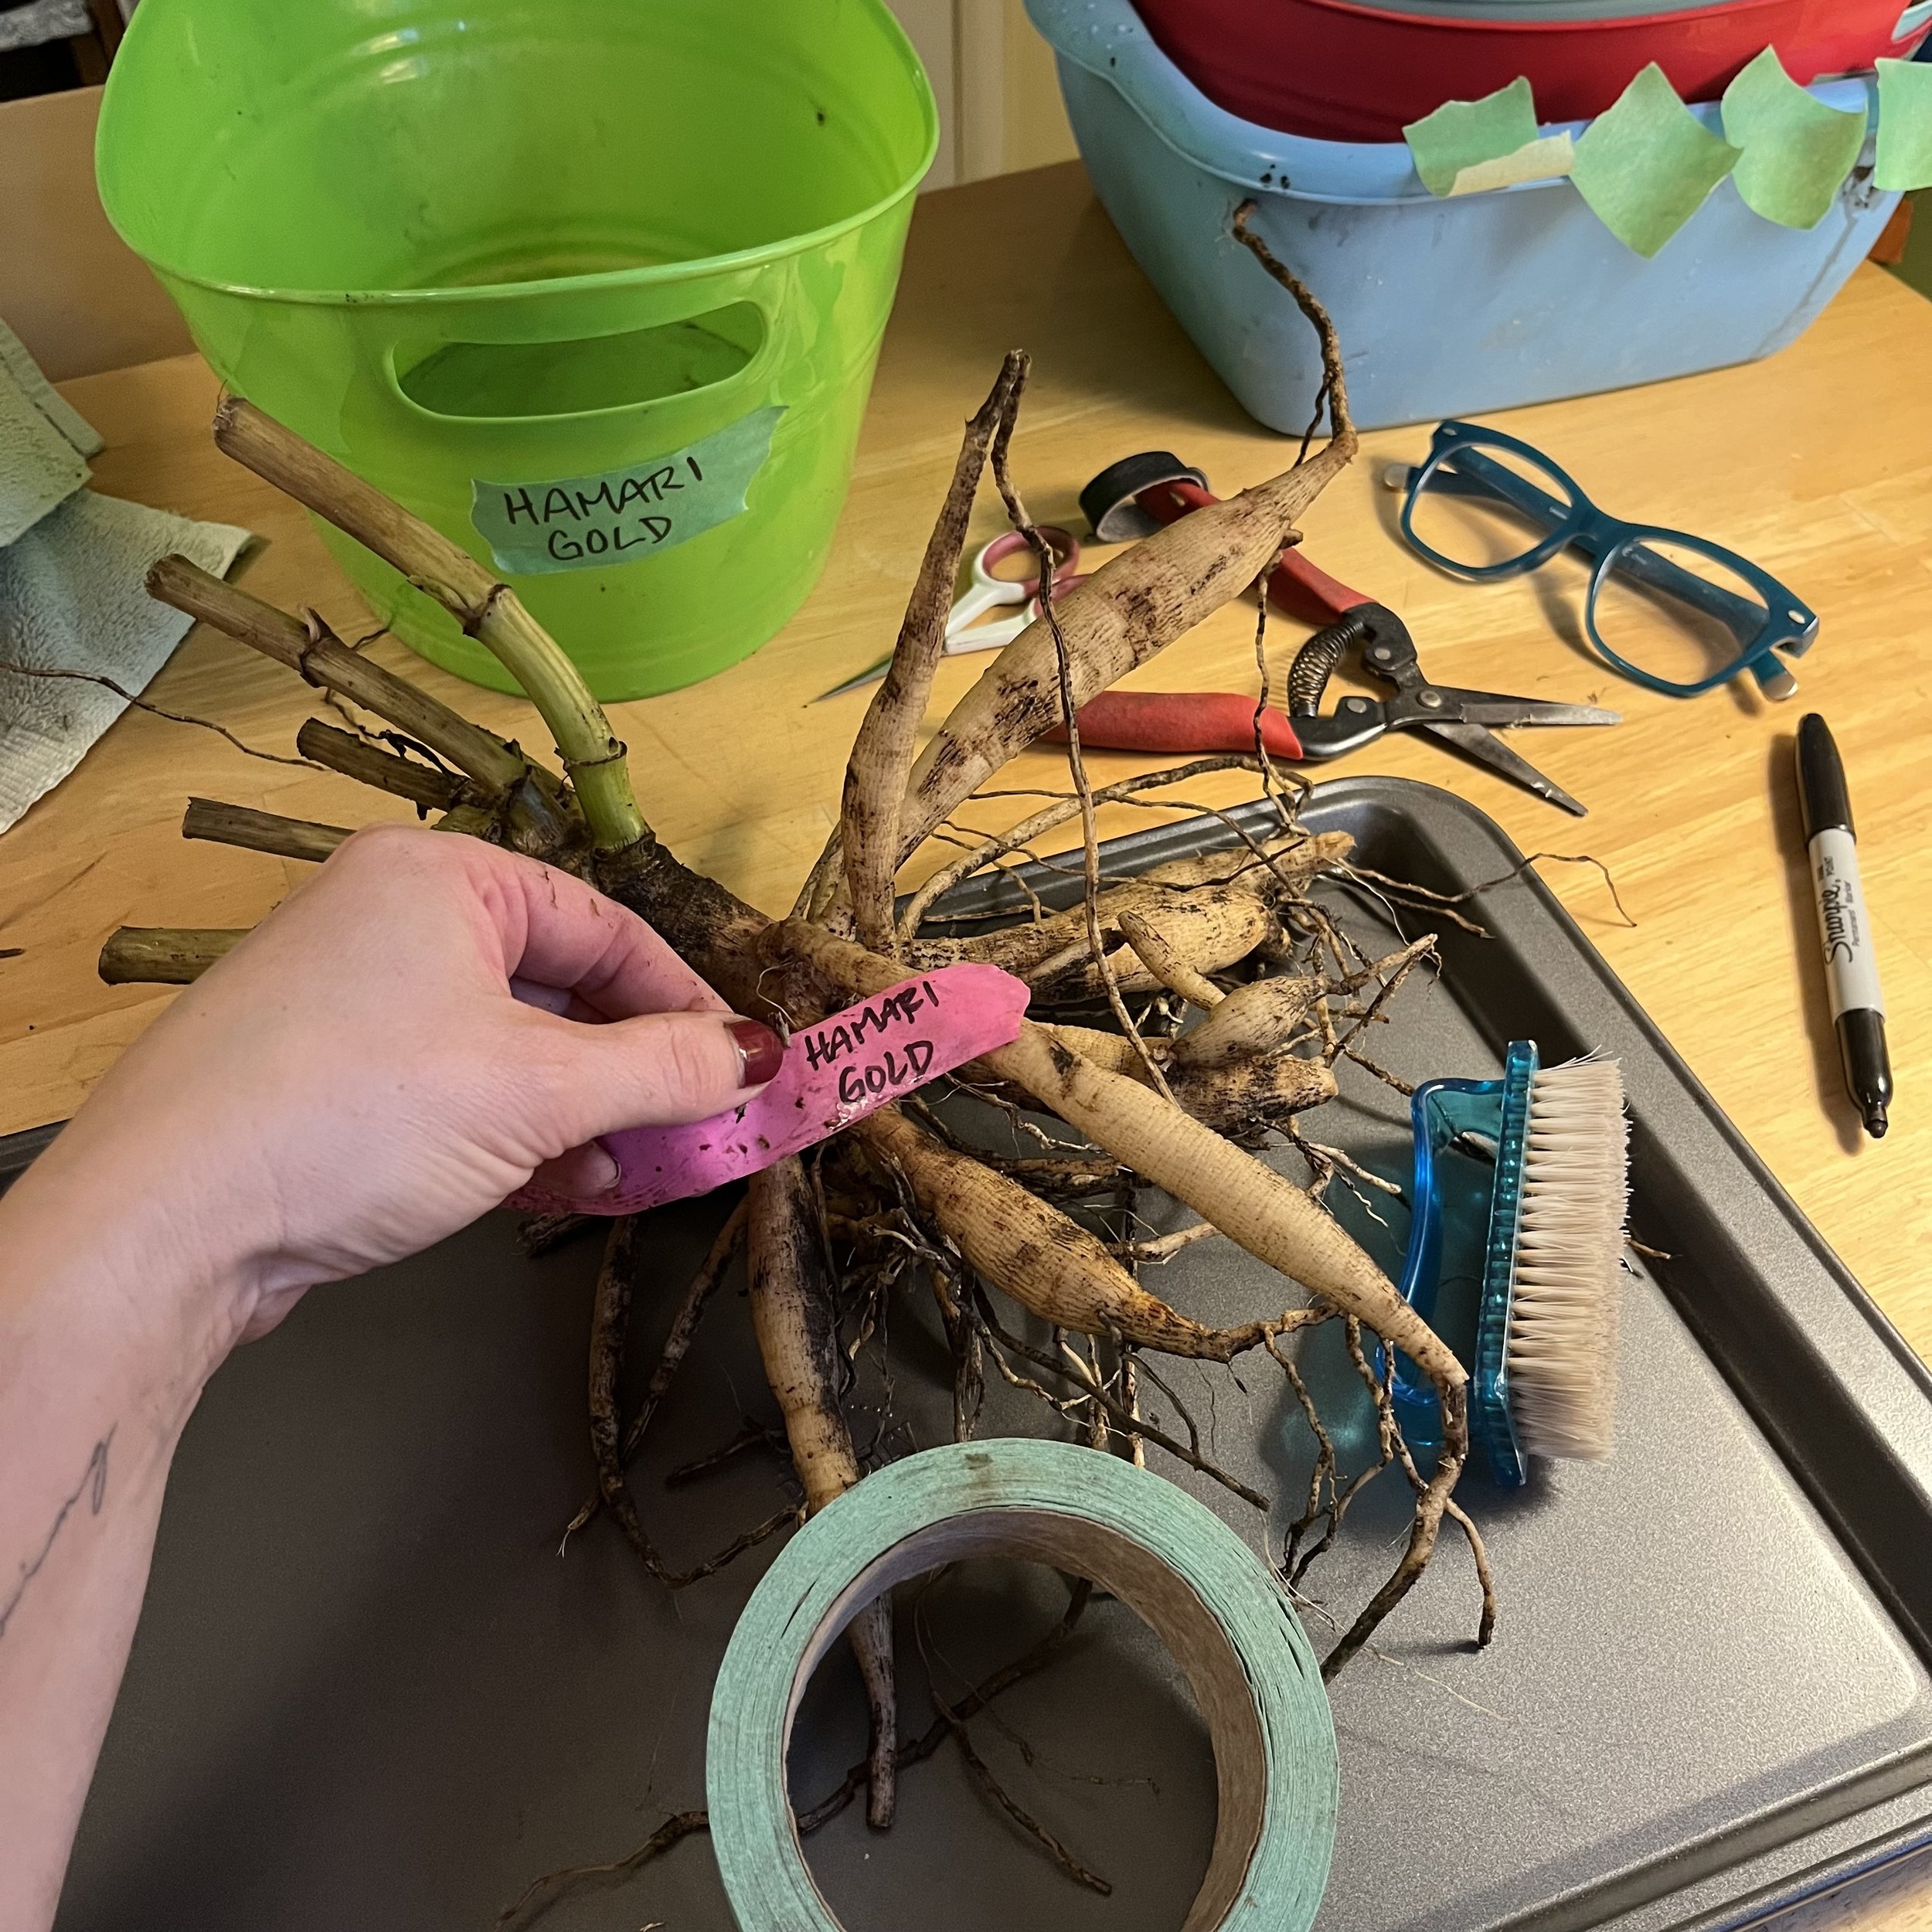
the great divide…of your tubers
Dividing Tuber Clumps
You dug up that dahlia tuber clump, washed it with the hose, let it dry and are ready to divide it into more tubers!
Well done. The easy part is over ;)
Some tuber clumps come out of the ground with very easy-to-see, nicely-spaced tubers. Some of them come outa there looking like gnarled fists that are holding a secret gemstone.
So where to begin?
Keep reading for my ideas on what you need to get prepared and set up for this task, what to expect, and how to keep safe…
Dividing Station
Get your dividing station set up for success.
You’ll need a nice big table, a comfy chair to sit and lots of light. A potting table in the greenhouse is nice too.
Use an old cookie sheet as a moveable work surface, get your coffee on and your podcast ready for an hour at the table.
Tools on the Table
Work glove for your tuber-holding hand
Sharp, needle-nosed garden snips
By-pass pruners
Lidded & labelled jar of rubbing alcohol for sanitizing tools
Tiny sewing scissors
Nail brush/toothbrush
Knitting needle or chopstick
Sharpie & green painter’s tape
And glasses…don’t forget your glasses!
Let’s do this…
Trim the Clump
Hold the stem like a handle when trimming.
Be gentle when putting the clump down on the table, and try not to hold it by the tubers as they are easily snapped off when fresh.
Trim off all roots, all waggly tubers with broken necks, and any long tails that are thinner than a pencil (the cut end will heal over in a day or two).
Use the knitting needle or chopstick to poke the soil out from between the tubers as you go.
Clear your work surface of any trimmings and soil before you start to divide.
Easy-to-spot tuber with eyes and a healthy neck! Cut it where the flared top meets the center stem.
Make the First Cuts
Cut the stem off as close to the top of the clump as you can. You can use the by-pass pruners to cut through an extra thick one.
Assess the clump. Are there any obviously easy tubers that you can cut off without much trouble? Is it a tangled nightmare?
Cut off any easy-to-spot tubers. Set them to the side for a final clean-up.
Remove exposed soil with the chopstick or toothbrush as you go, being careful not to damage the surface of your tubers.
Divide the Clump
Notice that the very center of the cut stem looks darker. It is typically softer in this area, so begin with poking one blade of your snips down an inch or so into the center.
Close your snips to make the first cut, ensuring that the outer blade is cutting between possible tubers, not directly through them.
If the first cut did not crack open the clump, do it again on the other side of the stem, continuing to cut down into the stem in sections until it cracks open.
Gently untangle the sections using the central stalk as a holding point.
Remove any more broken tubers and brush away any soil.
Clean your work surface of debris before continuing.
Note the dark center of the newly cut stem.
Start with the center cut.
Two halves of the same clump, with the center stem cut down the middle.
Cutting Tubers
Ok! Now that you’ve made your clump into a few more manageable sections, it’s time to cut each section into it’s separate tubers.
I continue to cut through the remaining stem, between the tubers, leaving a piece of the stem on each tuber.
Remember that a viable tuber needs at least a chunk of body, an intact neck, and visible eyes in order to produce a plant next season.
This tuber has a body, intact neck and visible eyes.
Final Clean-Up
Now that you’ve divided your clump into viable tubers (and discarded the rest), you know what you’re left with! So exciting.
I use my tiny sewing scissors to trim off any remaining roots, rotten tips or thin edges on the crown portion of the tuber. Be careful to leave the eyes alone when you do this! I also brush off any remaining soil and inspect the tuber for signs of rot and decide if I can cut them off or if it will probably rot in storage.
Put your beautiful fresh tubers into your labelled container, make a note of how many you got from your plant (if you’re a note-taker), and let them dry completely for 1-2 days in a cool, dry spot inside.
Next post - tuber storage! Stay tuned.
Let me know if you’re running into any trouble or have any questions below!
Happy dividing my gardening friends :)
xo -Renée
Tuber time!


